
A quick tour
How Equimotional works
Nine short steps, in the order you will meet them. Everything here uses the same wording you will see on the buttons, so nothing should feel like a guessing game.
Step 1: Signing in and finding your parent area
Choose Sign in at the top of any page. Once you are signed in, the same place shows Parent Area — that button always brings you back to your dashboard.

The top of every page Step 2: Adding a child
On your dashboard, choose Add a child profile. You only need a first name or nickname and an age range. Interests and learning preferences are optional, and they help us pick Adventures your child will actually enjoy.
- Children never have their own login.
- You can add more than one child, and remove a profile at any time.
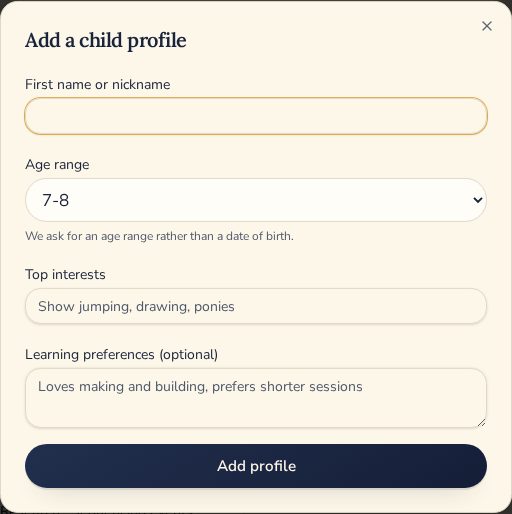
The Add a child profile form Step 3: Your dashboard at a glance
The gold banner at the top says Next Adventure unlocks with the date. Below it, each child has their own card showing their progress, what they have been exploring and a short note about how they are getting on.
- Continue Adventure opens whatever your child is working on.
- The button with your child's name opens their own Equimotional area.
- Rosettes opens their prize cabinet.
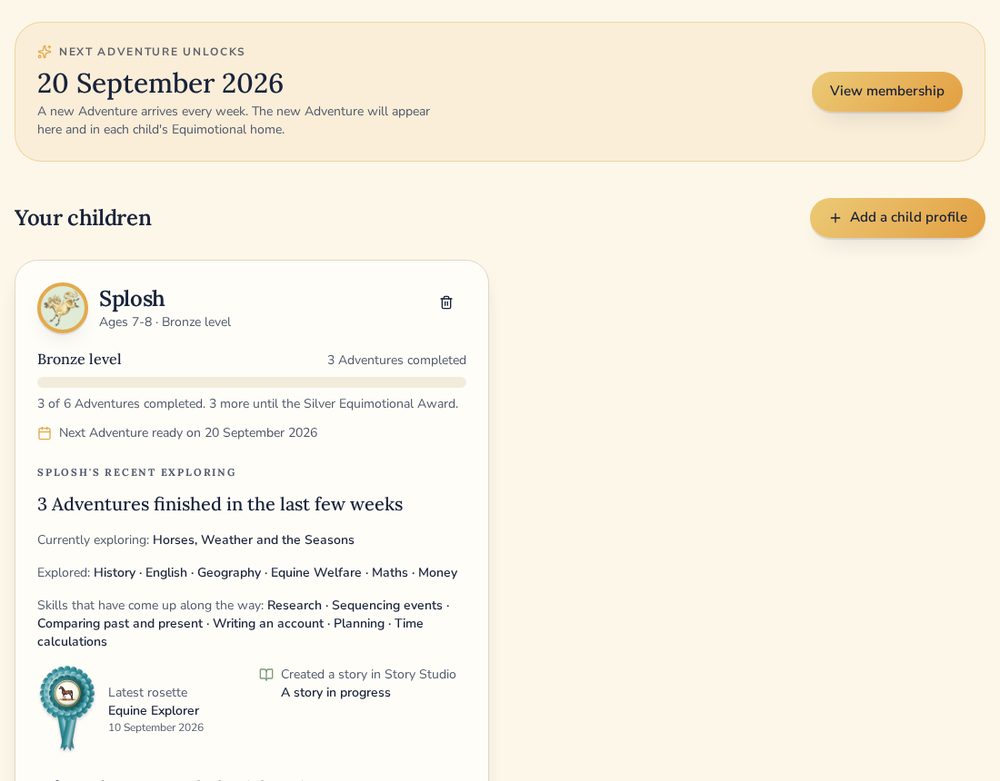
Your dashboard Step 4: Your assigned Adventure, and when the next one arrives
We choose your Adventures for you, so nothing is left sitting in a basket. How many you receive depends on your plan: one a month, two a month or four a month. Dates count forward from the day you joined.
- Choices come from your children's ages and interests, and from subjects your family has not had yet.
- Each Adventure shows a short line explaining why it was chosen.
- In Family library, Coming next lists what is lined up with the day each one unlocks.

An assigned Adventure Step 5: Swapping an Adventure nobody has started
If an Adventure is not right for your family, open Family library and choose Swap this Adventure underneath it. Pick another one from the list, then choose Swap Adventure.
- You keep the same number of Adventures, and nothing changes about your membership or payments.
- Once a child has started an Adventure it stays in your library, and you will see "Already begun, so this one stays in your library" instead of the swap button.

Choosing a different Adventure Step 6: Browse Adventures
Browse adventures shows the whole library. Anything your family has unlocked opens straight away, and anything else can be bought on its own if you would rather not wait for it to be assigned.
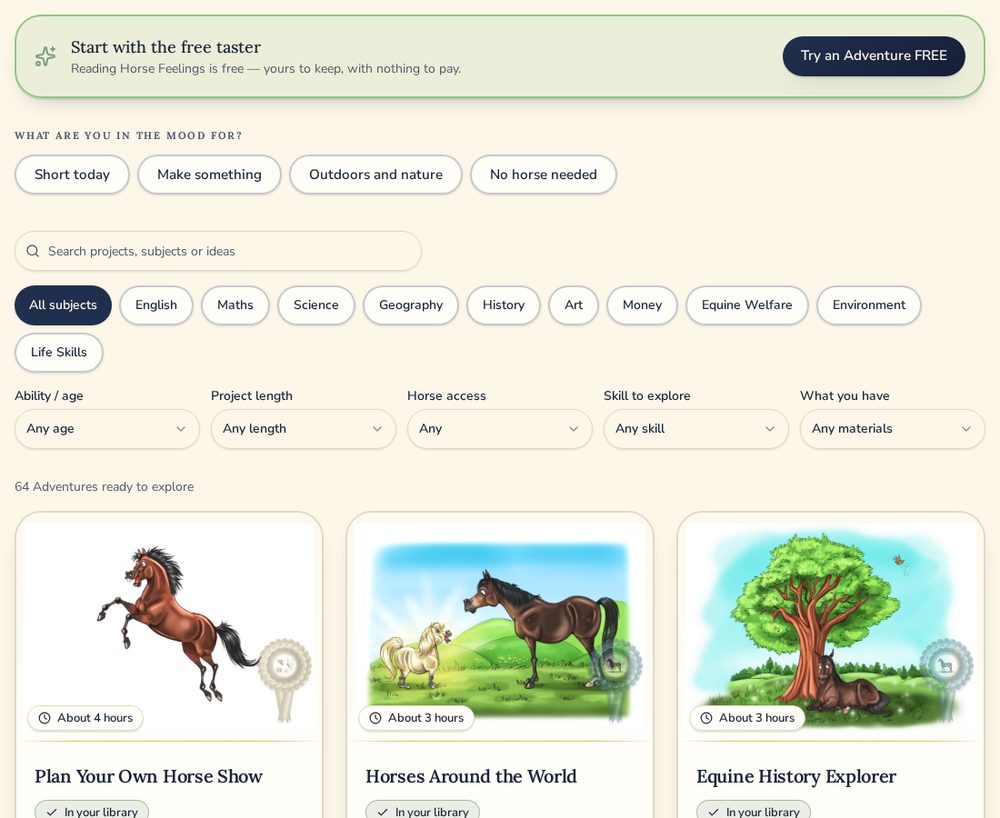
Browse Adventures Step 7: Mini Adventures
Mini Adventures are single-page activities — maths, English, creative work, horse knowledge, yard skills and nature. You receive five when you join and two more after every monthly renewal.
- Each one has Open PDF and Download PDF.
- On a phone, download the PDF first and print it from your saved files.
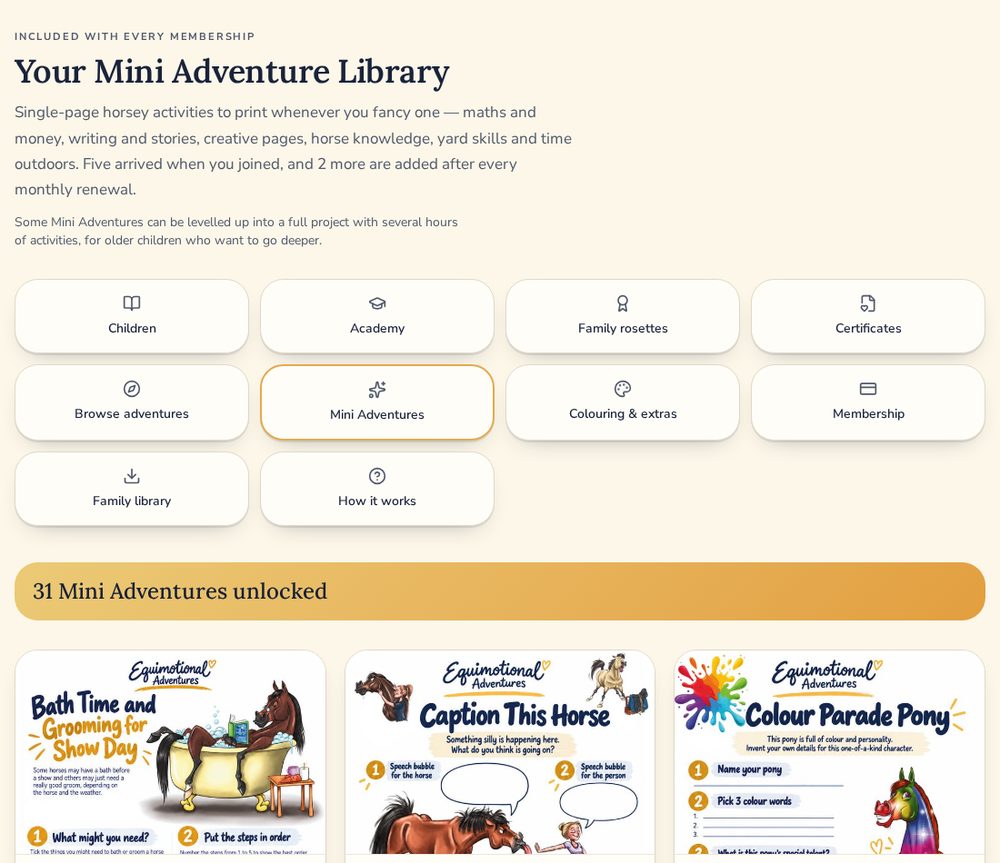
Your Mini Adventure Library Step 8: Family library and printing
Family library is the one place everything you have unlocked lives. Every Adventure has a Project pack for your child and a Parent guide for you, both ready to print at home.
- Anything you have unlocked stays there, even if you pause or cancel later.
- Printable extras appear at the bottom of the same page.
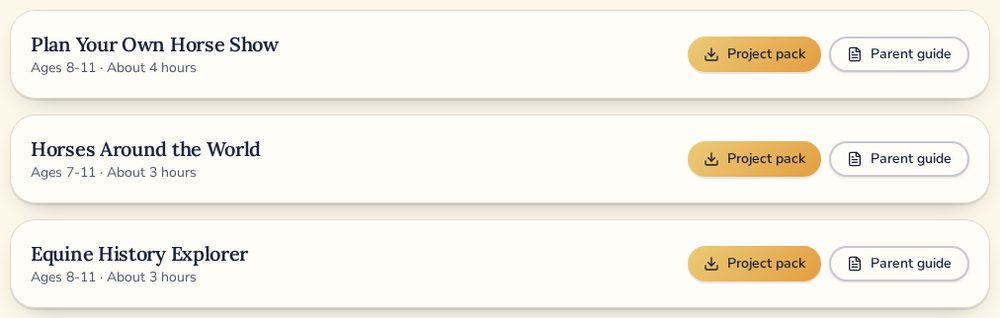
Family library Step 9: Rosettes, certificates and membership
Every finished Adventure adds a prize rosette to your child's cabinet, and Bronze, Silver and Gold awards come with their own printable certificate. Membership shows your plan, your renewal and how to pause or cancel.
- Family rosettes and Certificates are both on your dashboard.
- Manage membership is on the membership card near the bottom of the dashboard.
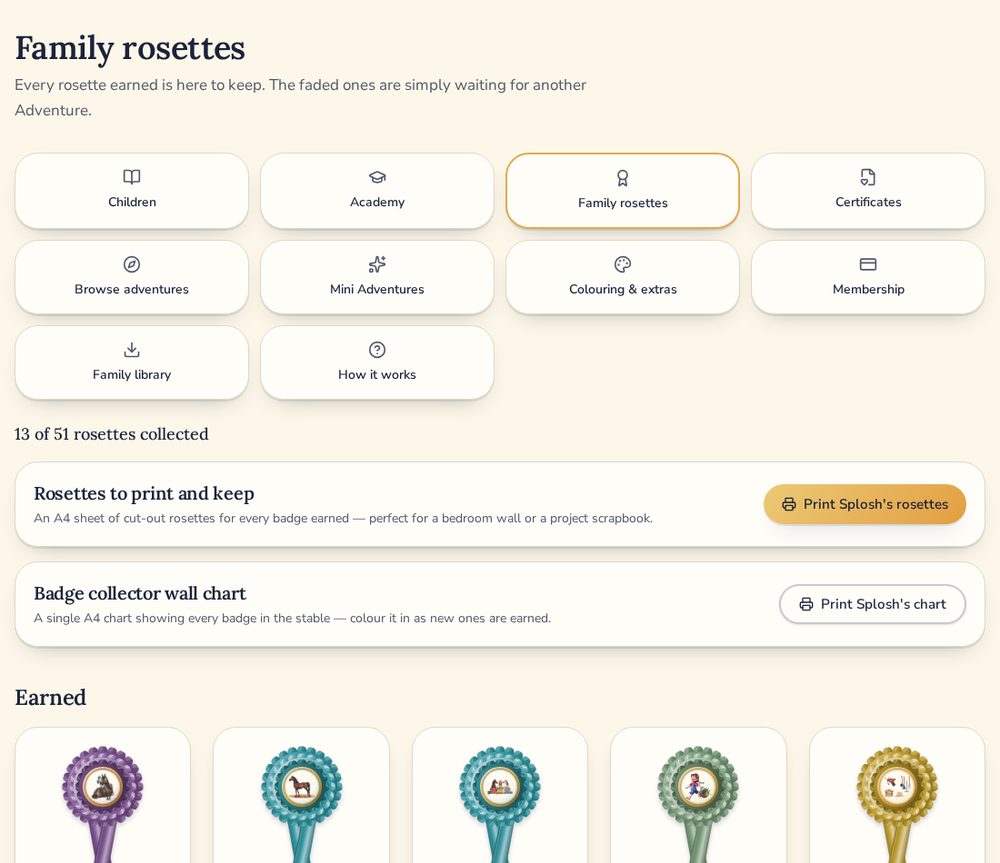
Family rosettes
Still got a question?
The Parent FAQ covers ages, marking, siblings, whether you need a horse and how to cancel.